How to create a macOS High Sierra install USB from the 21MB installer

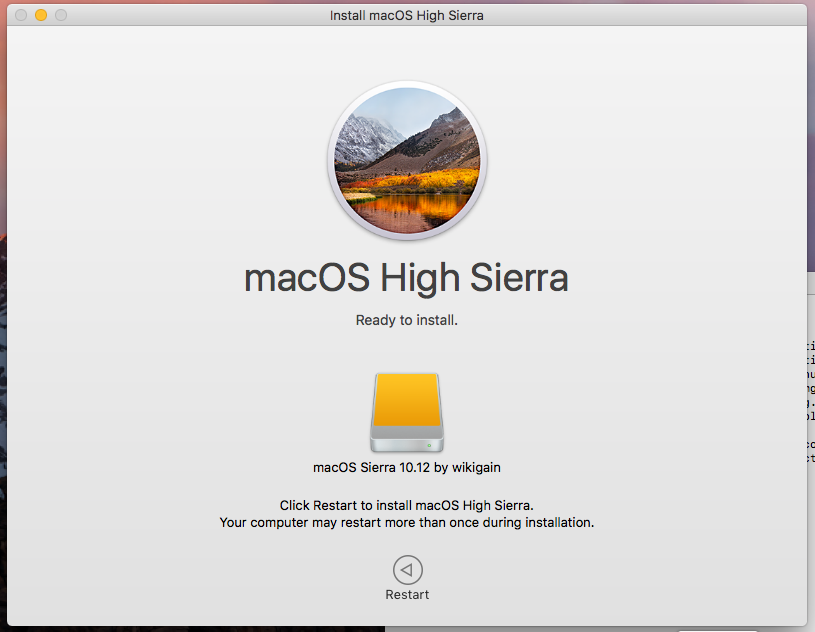
With macOS High Sierra Apple has changed the way the installer works. Before, the App Store would download the full image for the install and you could use createinstallmedia to create a bootable USB. Now, the App Store downloads a macOS High Sierra downloader which in turn downloads the image. Because of this, the createinstallmedia utility is broken and throws an error.
To create a install media disk, do the following:
- Let the installer download the full image

- Open a terminal and change directory to the install directory:
cd /Applications/Install macOS High Sierra.app/Content - Create a directory called
SharedSupportmkdir SharedSupport - Copy all the data from downloded installer into the folder you created
cp -Rav /macOS Install Data/* SharedSupport/. - Run
createinstallmediawithout the--applicationpathparametercreateinstallmedia --volume CHANGEME
After that, inside the SharedSupport folder you should see this:

This is the terminal dump of the process:

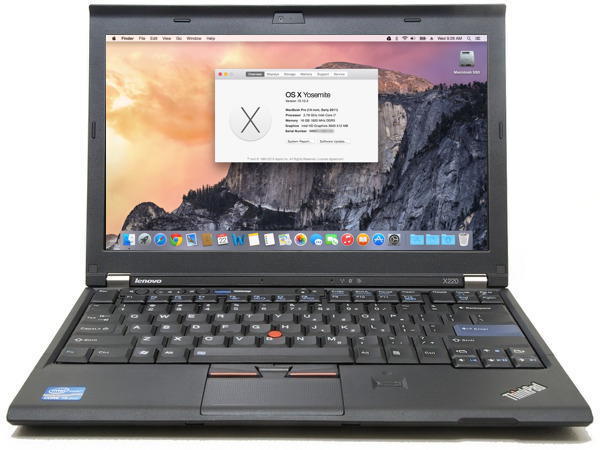
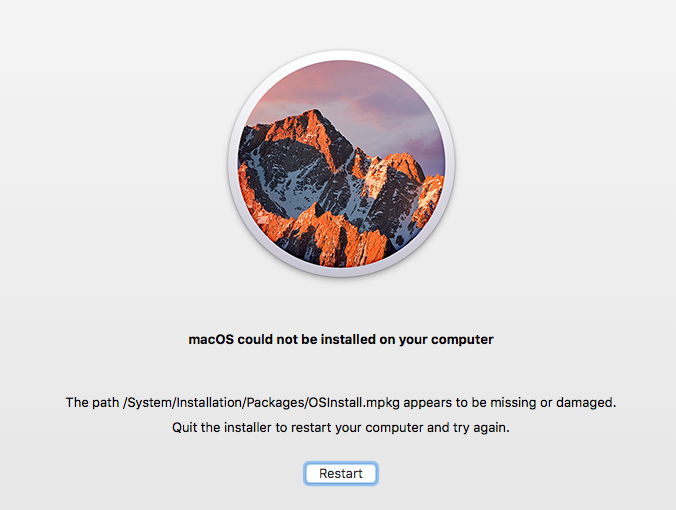
Now, insert the USB into your ThinkPad and boot from it and start the installer. Once you format the hard disk and start the install process, the installer should fail with the following error:

Now, go to the top of the screen, select Utiltities and select Terminal. Once the terminal opens, you need to copy the InstallESDDmg.pkg install package from the USB to the Hard Drive of the PC manually.
- Find the install USB in
/Volumes/and change the directory to itcd /Volumes/CHANGEME - Verify that the InstallESDDmg.pkg file is there
ls -la - Copy that file to the install hard disk
cp InstallESDDmg.pkg /Volumes/CHANGEME/macOS Install Data/. - Restart the installer
Once you do this, the installer should finish and you should have a working macOS High Sierra installation.
